How to Dress a Mannequin
Leif Anderson • April 28, 2021
How to Dress a Mannequin
Dressing a mannequin for the first time can be an intimidating task. Not only do you have to get over the fact that you are dismantling a replica of a human body but you have to deal with unfamiliar hardware as well as a lack of knowledge on some basic tricks that can make life much easier...all that AND you have to create something appealing to your customers.
The following will outline how to dress a basic standing mannequin along with few pro-tips along the way. In addition I will also give some tips on how to approach dressing sitters and other odd positioned mannequins.
Every amazing display created for featuring in windows or interiors of stores begins with the simple objective of attracting your target customer and/or selling a specific piece clothing or accessory.
Once you've purchased the perfect mannequin that reflects your brand image the first task is choosing the perfect outfit (some retailers will supply look books with directives of what to dress)...remember it is ALL about the clothing...your mannequin is the canvas to the art of dressing.
Take your time choosing, every decision of what to dress your mannequin with needs to relate to your customer.
It can be adventurous or conservative, colours that match (or not), throw in an accessory ...it all needs to work for you. Once you have chosen your outfit(s), do as follows:
1. If needed, steam the clothes and hang them up on a rack to prepare keeping all the outfits together.
2. Remove the tags (if they can’t be hidden)...find a safe place to keep them as they will be needed (a pocket, in a shoe etc).
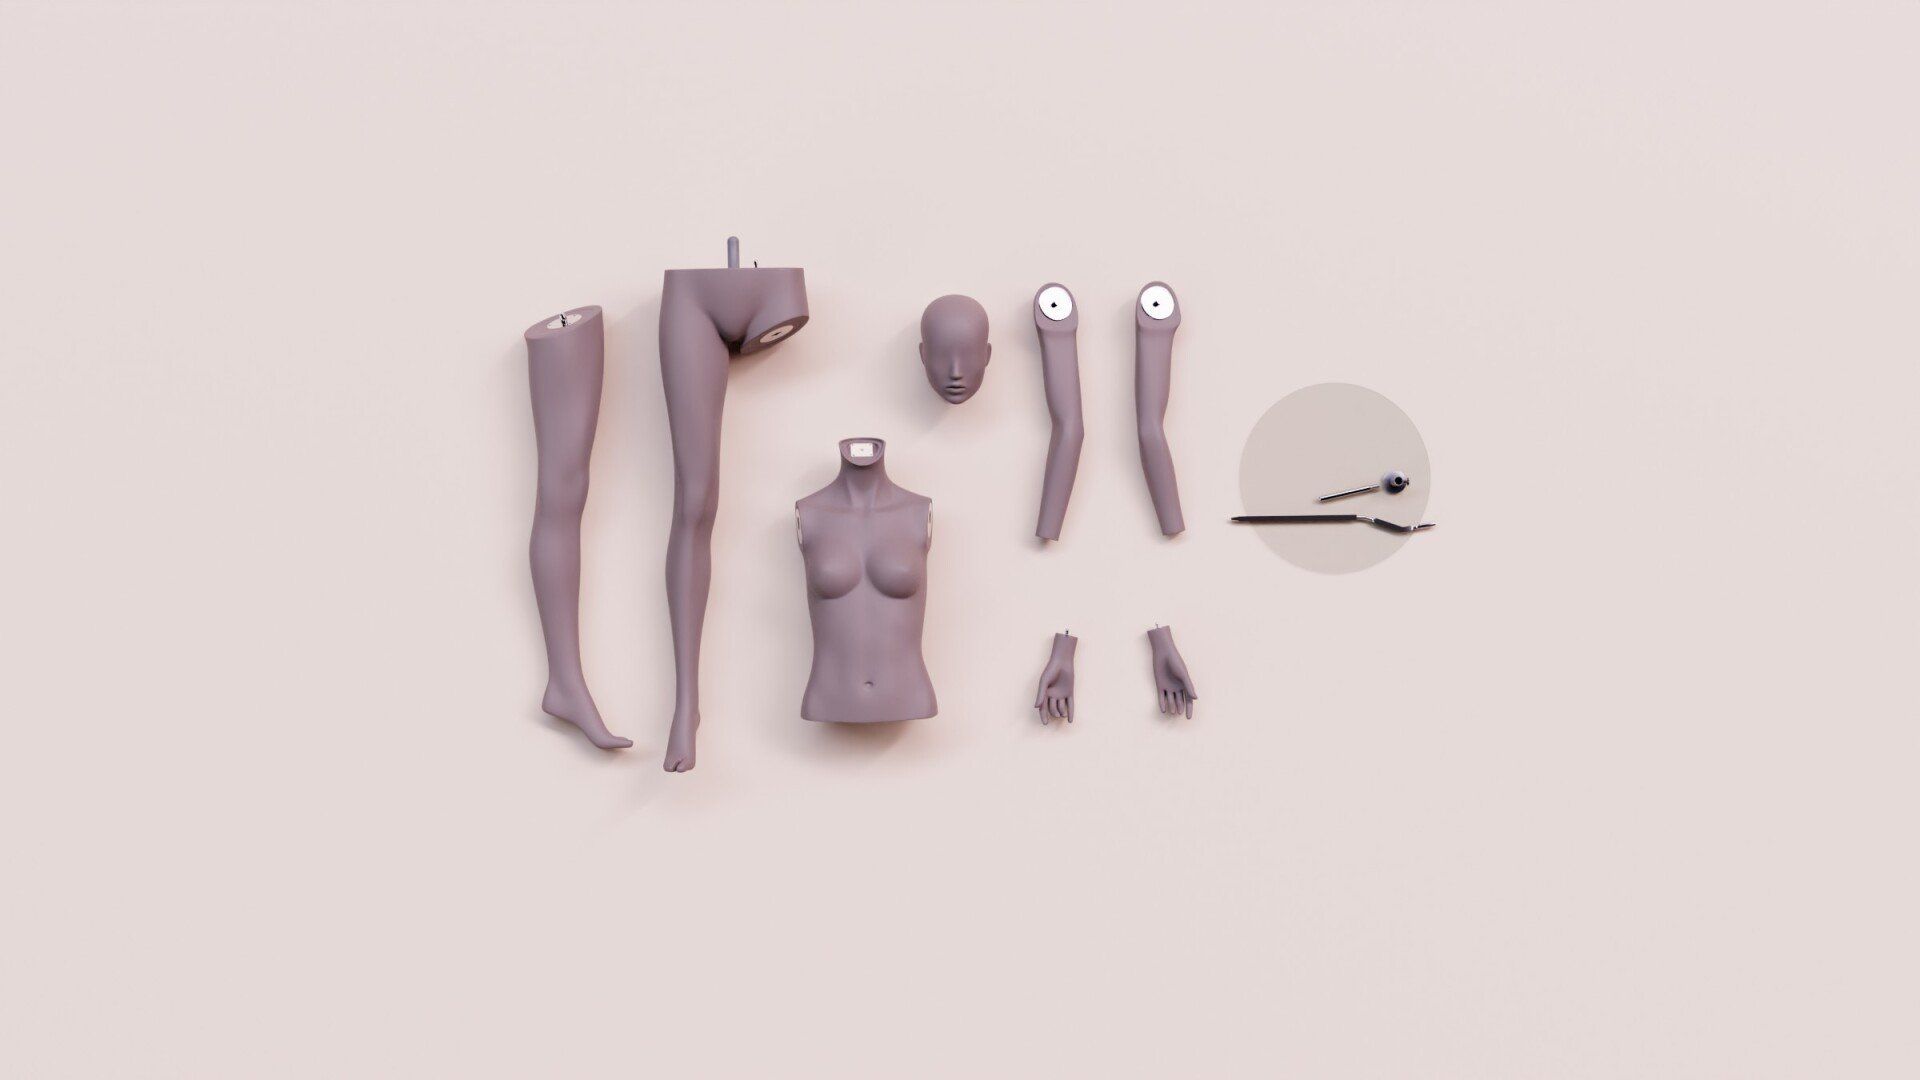
3. Prepare your mannequin for dressing (tip: if you have never used this specific mannequin take it apart carefully taking care on how you remove parts, them put it back together without clothing as practice). Dismantle the mannequin:
- depending on what parts need to be removed, lay them adjacent to where they need to be re attached on the floor.
- The arms, hands, legs, torso and base should all be separated and placed carefully on a soft surface. Mannequins can get damaged very easily if you’re not careful. Getting a scratch or a chip on its face requires a very expensive and time consuming repair job.
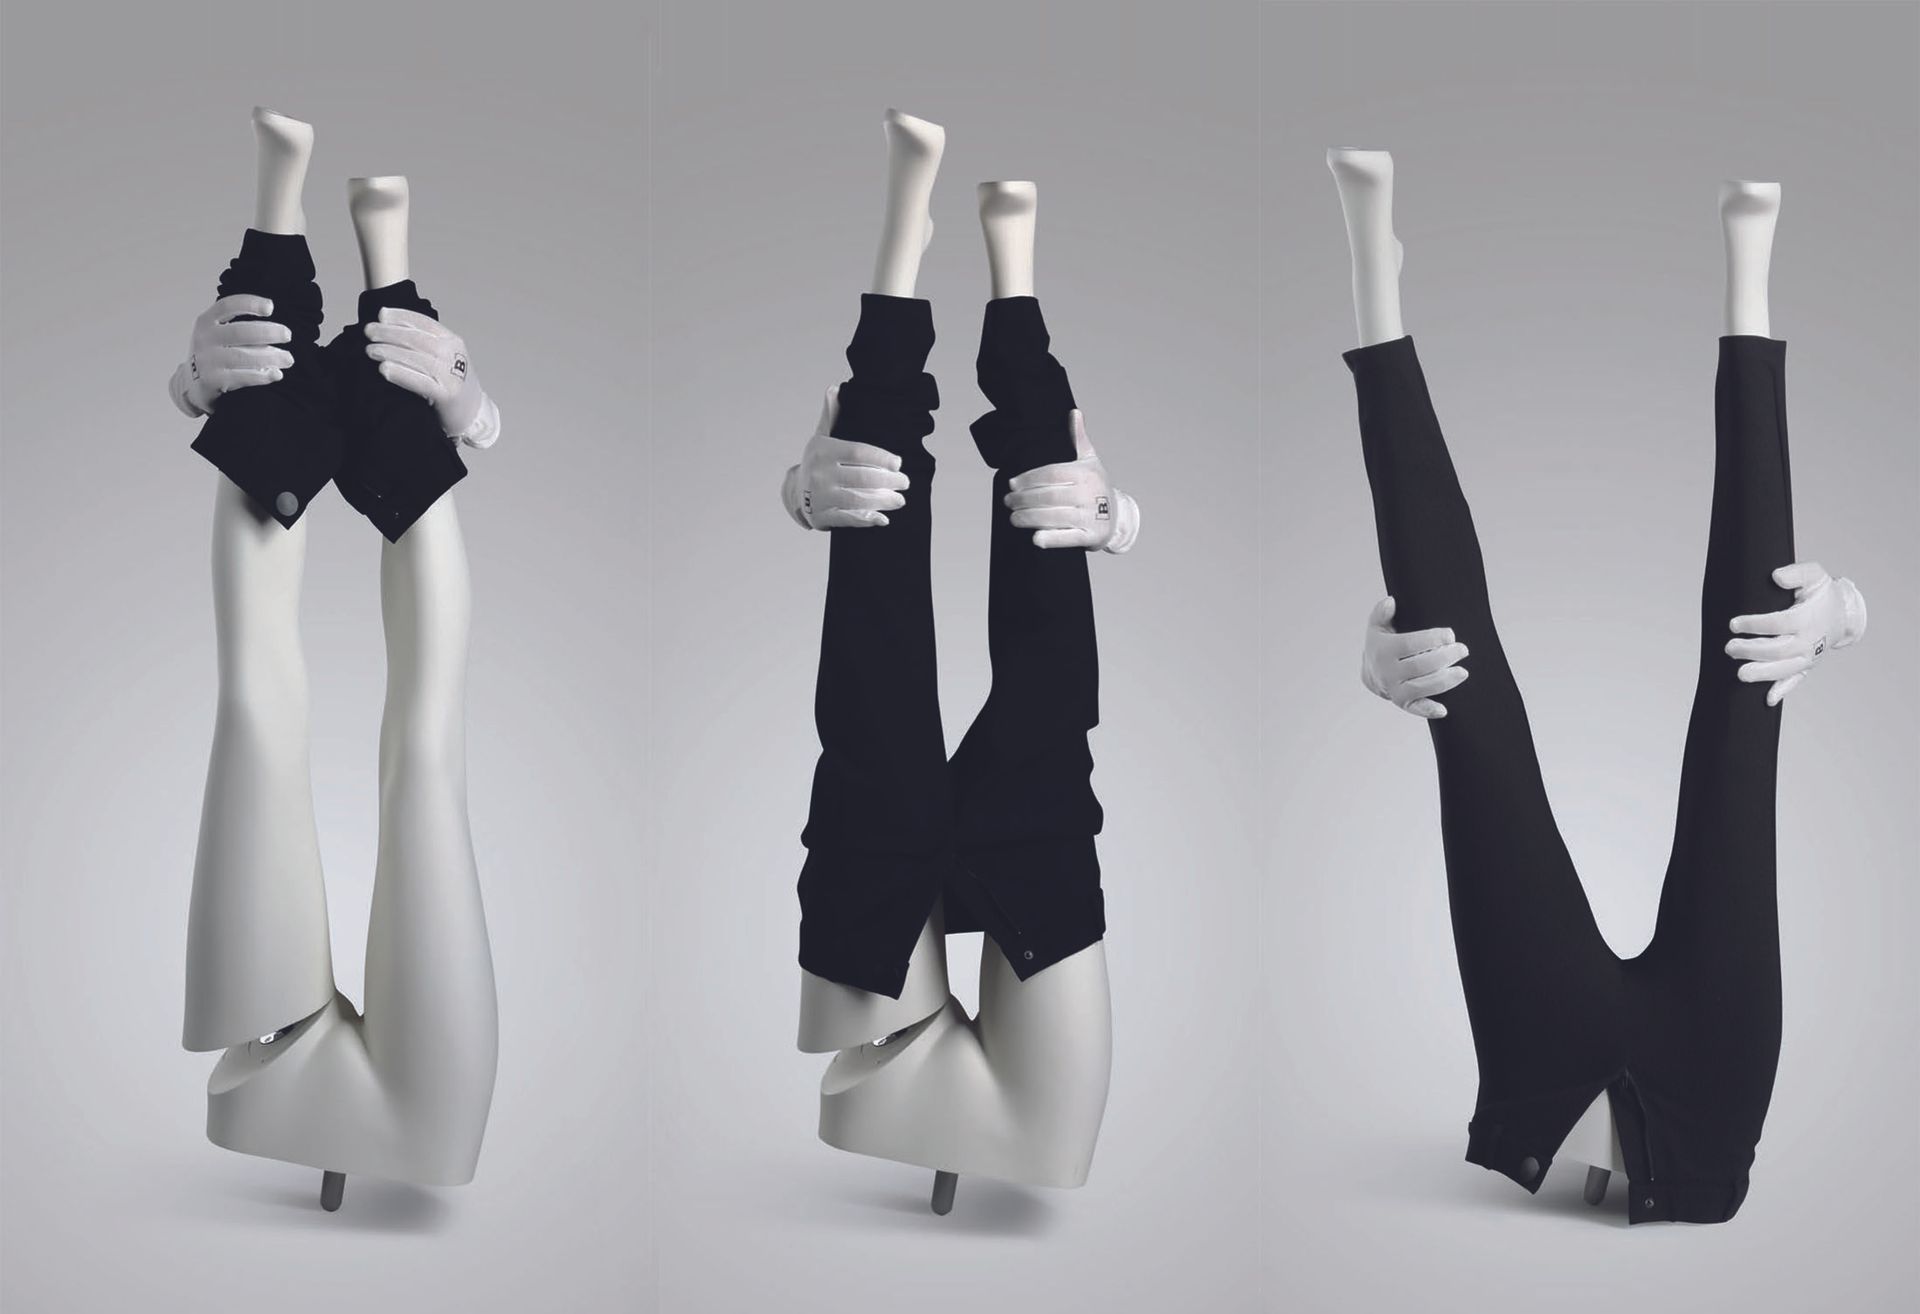
4. First dress the bottom (pant or skirt) and shoes if used. You’ll find it easier to put them on with the mannequin feet sticking up and the waist on the ground. (Some of the newer mannequins have a spring in the leg attachment allowing the legs to be pushed together with a little bit of pressure, enough to slip pants on without taking the legs off. If so, proceed. If not, you’ll have to remove the legs (or one leg) from each other (or torso) and reattach them once the pants are at the right position. This is usually the hardest part so don’t be shy to ask someone for help. Finish them off with any footwear you might be using. (Pro-tip #1 If the legs of the mannequin are close enough together so that you can slide a pair of pants on without taking them apart leave them attached).
5. Now attach the legs onto the floor base. It’s important to know beforehand if you will be using shoes, socks or stockings on the mannequin as mannequins come with different options to attach the legs to the base. An ankle rod is the most common when using footwear as they stay clear from the foot/shoe. Foot rods are commonly used when showing the mannequin barefoot (some retailers will use the foot attachment even if they use shoes, this is done to hide all mannequin hardware but entails placing a hole in the shoe).
6. Now after the legs are attached to the base and standing upright place torso on the legs without the arms and dress it with whatever you’ve picked out.
7. Start with under layers first as you would when dressing yourself. When putting on layers of long sleeved clothing insert the sleeves into each other (see image). All buttons and zippers should remain undone. (Pro tip #2: If you’re dressing a realistic mannequin be sure to take off the wig and place a plastic bag over the mannequins head to avoid scuffing the face or putting hair and eyelashes out of place).
8. Next, one at a time, thread the arms through the neck into the sleeve, wrist first (without the hands) and attach them to the upper body. This can be an awkward task and often very frustrating depending on how many layers you’re using and how tight the garments are (Pro tip #3 to make it easier for dressing layers you can use larger sizes and pin them afterwards...larger sizes have more room in the arm holes). If you’re having trouble make sure there is no excess material from the clothing stuck between the arm and the torso as the arm will not connect. (Pro-tip #4 One or two arms of a button up shirt or jacket can sometimes be slid on a mannequin arms while already attached if they are straight to the side of the mannequin).
9. The final touch is “finishing” the mannequin and it can be an art in itself. If needed, put on the wig and make sure it’s styled.
- Take a look at outfit and see if it needs any more steaming.
- Make sure you button and zip everything that needs to be up and that all the seams of the clothing are in the right place.
- You want to make the mannequin look like it’s living in the clothing. Pinning the clothing so it better fits the mannequin is always an option if it can be hidden from the customer (in store mannequins can be pinned from the inside of the clothing to be kept from view)
- Some small treatments like rolling up the sleeves, popping the collar, tucking in the front (or half the front) of a t-shirt and adding accessories can make your outfit stand out.
- Lastly stand back and look at your dressing objectively...does it look like you wanted, it it dressed as instructed...tweak if necessary as every little touch will take a dressed mannequin into something a true pro would dress.
Additional notes:
Some mannequins that can add dimension and drama to your displays can very difficult to dress and might not be able to wear certain garments (if they have exaggerated poses). Sitting mannequins as an example are harder to add pants/ tight jeans and often need much larger sizes than their actual size to work. Some bent arms can be troublesome as well. Often these mannequin will have different fittings from a standard mannequin and it will be impossible to add multiple layers or pants. You’ll have to learn the limitations of these mannequins and dress them appropriately.
As with most things, dressing a mannequin will get easier the more you do it. The basics can be frustrating at first but once you realize the work that’s involved you’ll be better prepared and more patient. Mannequins can be vastly different and you’ll learn your own “pro-tips” over time the more you work with them. Eventually you’ll be focusing more on the “finishing” of a mannequin than actually dressing it. Spending some time looking at other stores displays and emulating their finishing techniques will be a big help to defining your own style.
Remember, if you’re having trouble with anything don’t be afraid to call us. Not only have we made it a professional obligation to help but we love doing it.
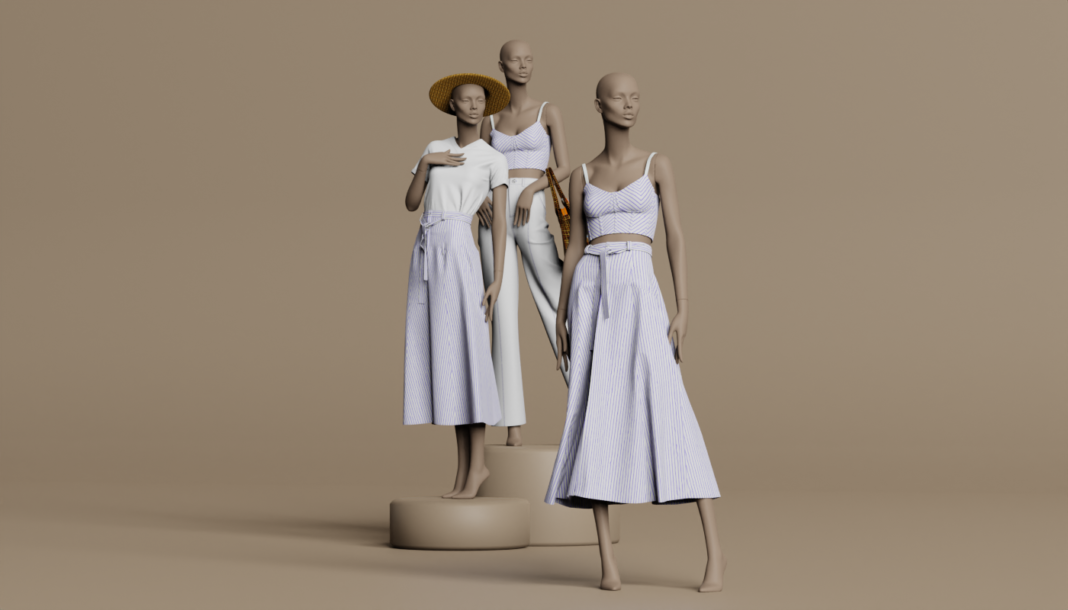
A Montreal-based company specializes in providing diverse and inclusive mannequins for visual merchandising. They offer a variety of sizes and inclusive mannequin heads representing different ethnicities to create inclusive displays. The company believes in the importance of representation, empowering customers to showcase relatable and inclusive visuals. By embracing diversity in their mannequin collections, they celebrate the cultural richness and foster a sense of belonging for all shoppers. The company emphasizes the quality and design of their mannequins, comparing them to subpar alternatives found on platforms like Ali Baba. They have agents located in Toronto and Vancouver in addition to their Montreal headquarters.


