How to Assemble a Mannequin
Leif Anderson • April 28, 2021
How to assemble a Mannequin
Once you’ve purchased your mannequin it will arrive in a box completely disassembled. If it’s your first time, you might not know where to start. With our step by step video guide accessed by scannable QR code printed on our boxes, you’ll have your mannequin up in no time and with very little effort.
See video here
2. Always start with the base first. Most mannequins come with a foot or ankle rod option and some include both. Decide what’s best for you and assemble the metal fitting onto the glass or metal base.
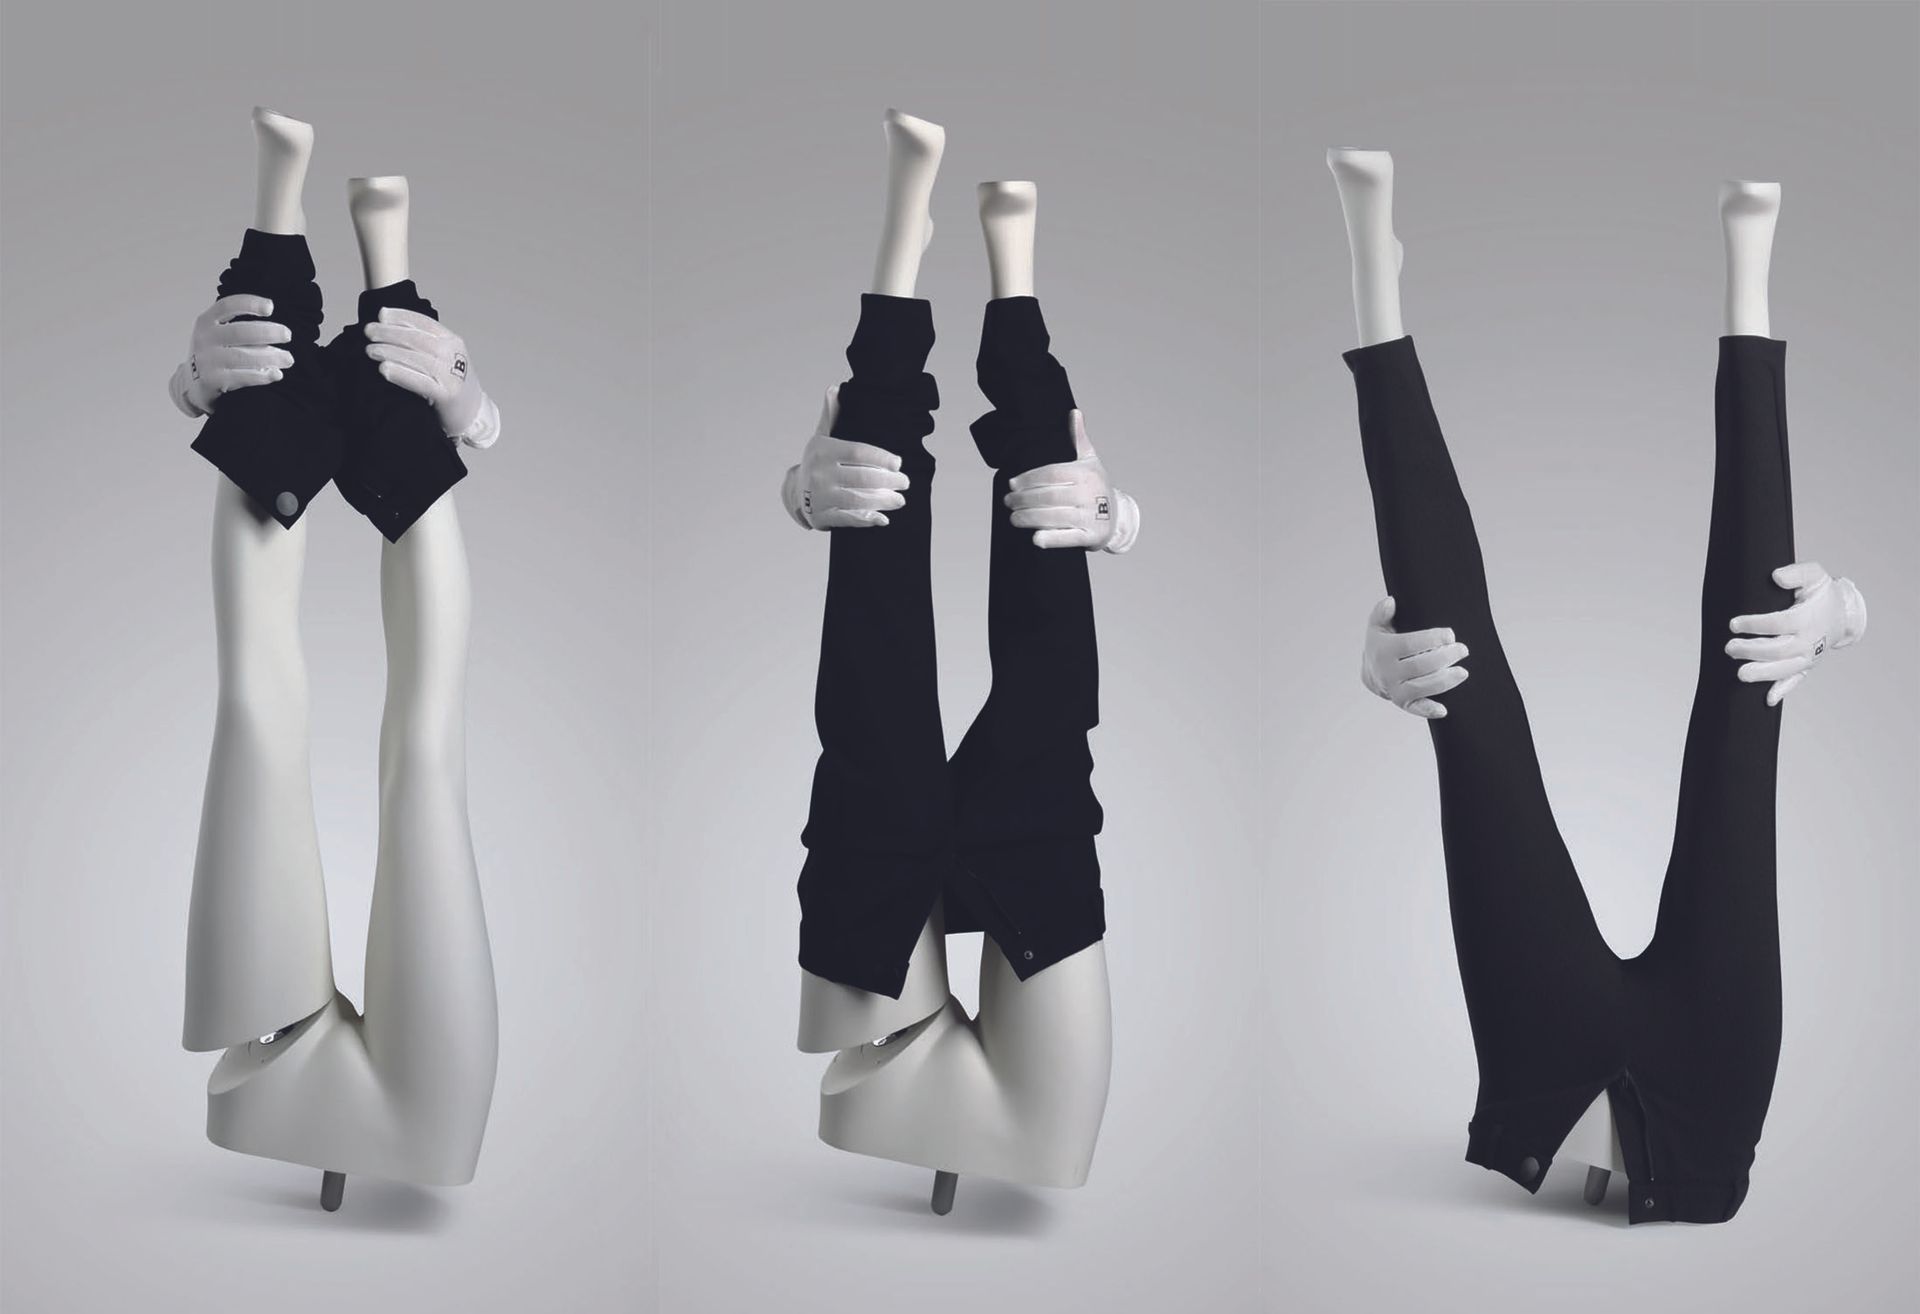
3. Next you’ll need to attach the opposite leg to the lower torso and leg piece. The easiest way to this is to flip the form so the feet are on top then put the fittings together and twist the leg into place. This might take a little elbow grease and having a second person help out makes it much easier. Newer mannequins will be a little tougher to assemble. Fortunately, such as the case with all our mannequins , this is the last time you’ll need to do this. Innovations like the “Spring Fitting” have made dressing a mannequin much easier.
4. Now that the hard part is over, place the assembled lower body on the base fitting.
5. Next twist the torso into place onto the lower body.
6. There are a variety of different arm fittings but they all should be simple enough to attach to the torso.
7. Finally place the hands onto the arms with a push and a twist.
1. Traditionally mannequins will come in 8 pieces: upper torso, leg and hip, leg, left and right arms, left and right hands and base. Once you open the box you’ll want to lay all these pieces out on a soft flat surface to avoid scratch the finish.
2. Always start with the base first. Most mannequins come with a foot or ankle rod option and some include both. Decide what’s best for you and assemble the metal fitting onto the glass or metal base.
3. Next you’ll need to attach the opposite leg to the lower torso and leg piece. The easiest way to this is to flip the form so the feet are on top then put the fittings together and twist the leg into place. This might take a little elbow grease and having a second person help out makes it much easier. Newer mannequins will be a little tougher to assemble. Fortunately, such as the case with all our mannequins , this is the last time you’ll need to do this. Innovations like the “Spring Fitting” have made dressing a mannequin much easier.
4. Now that the hard part is over, place the assembled lower body on the base fitting.
5. Next twist the torso into place onto the lower body.
6. There are a variety of different arm fittings but they all should be simple enough to attach to the torso.
7. Finally place the hands onto the arms with a push and a twist.
Once you’re finish you’re ready to dress it up.
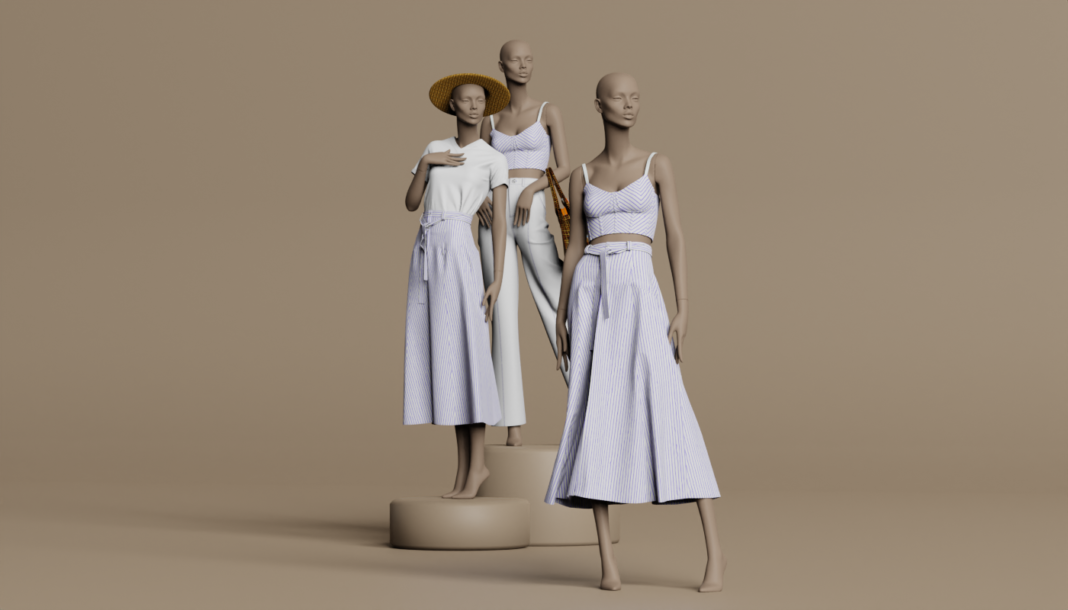
A Montreal-based company specializes in providing diverse and inclusive mannequins for visual merchandising. They offer a variety of sizes and inclusive mannequin heads representing different ethnicities to create inclusive displays. The company believes in the importance of representation, empowering customers to showcase relatable and inclusive visuals. By embracing diversity in their mannequin collections, they celebrate the cultural richness and foster a sense of belonging for all shoppers. The company emphasizes the quality and design of their mannequins, comparing them to subpar alternatives found on platforms like Ali Baba. They have agents located in Toronto and Vancouver in addition to their Montreal headquarters.


